
Making your site accessible to all users is required, not optional anymore. Given that more than 1.3 billion people globally have some form of disability, it is a must to make sure that your site serves everyone. A Website Accessibility Analyzer is a great website accessibility tool that makes the process of figuring out accessibility problems and fixing them in your site easy, thus your site becoming accessible and friendly to users. This is how you can do it properly.
Step 1: Install the Accessibility Analyzer
The very first step is to install the Accessibility Analyzer Chrome Extension to your browser. It is free, simple, and made for anyone—whether you are a website owner, developer, or designer. After the installation, you will be able to check any web page for accessibility issues.
Step 2: Scan Your Website
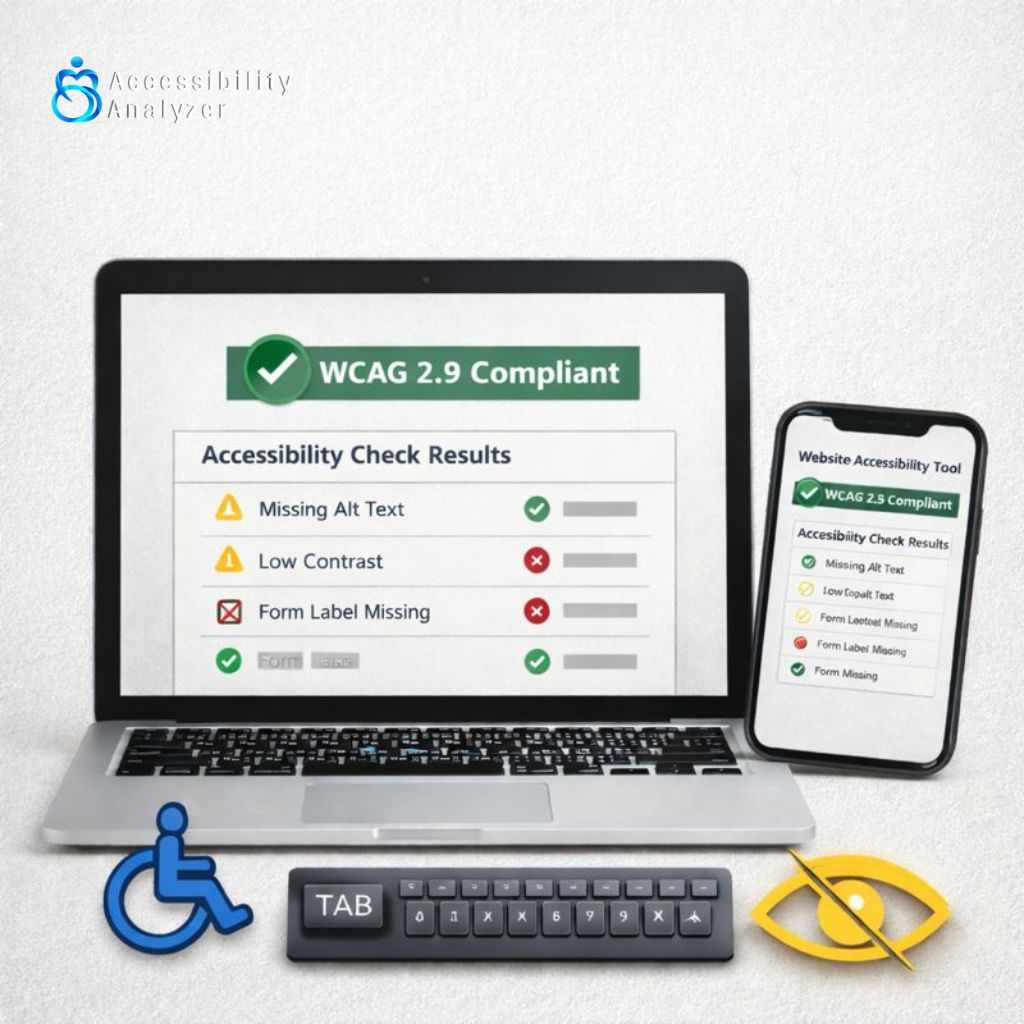
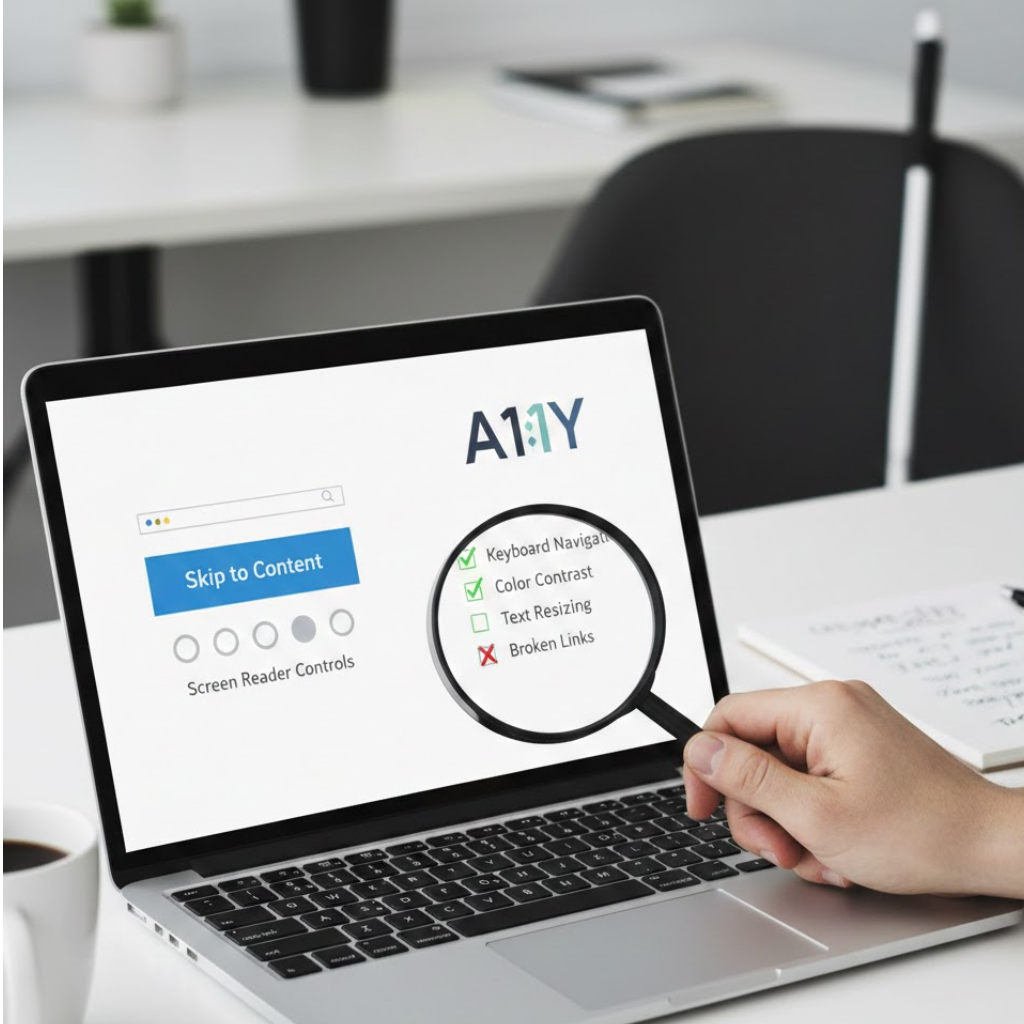
Go to your site and find the Accessibility Analyzer extension, then click on it. The device will rapidly check your site and indicate the areas where your site is not accessible to the disabled due to, for instance, missing alt text, low color contrast, indiscernible text, or inaccessible registration forms. These programs that perform only a few automated checks are time-saving tools and also help you find that there are places where you don’t have to be/look but which are problematic.
Step 3: Understand the Results
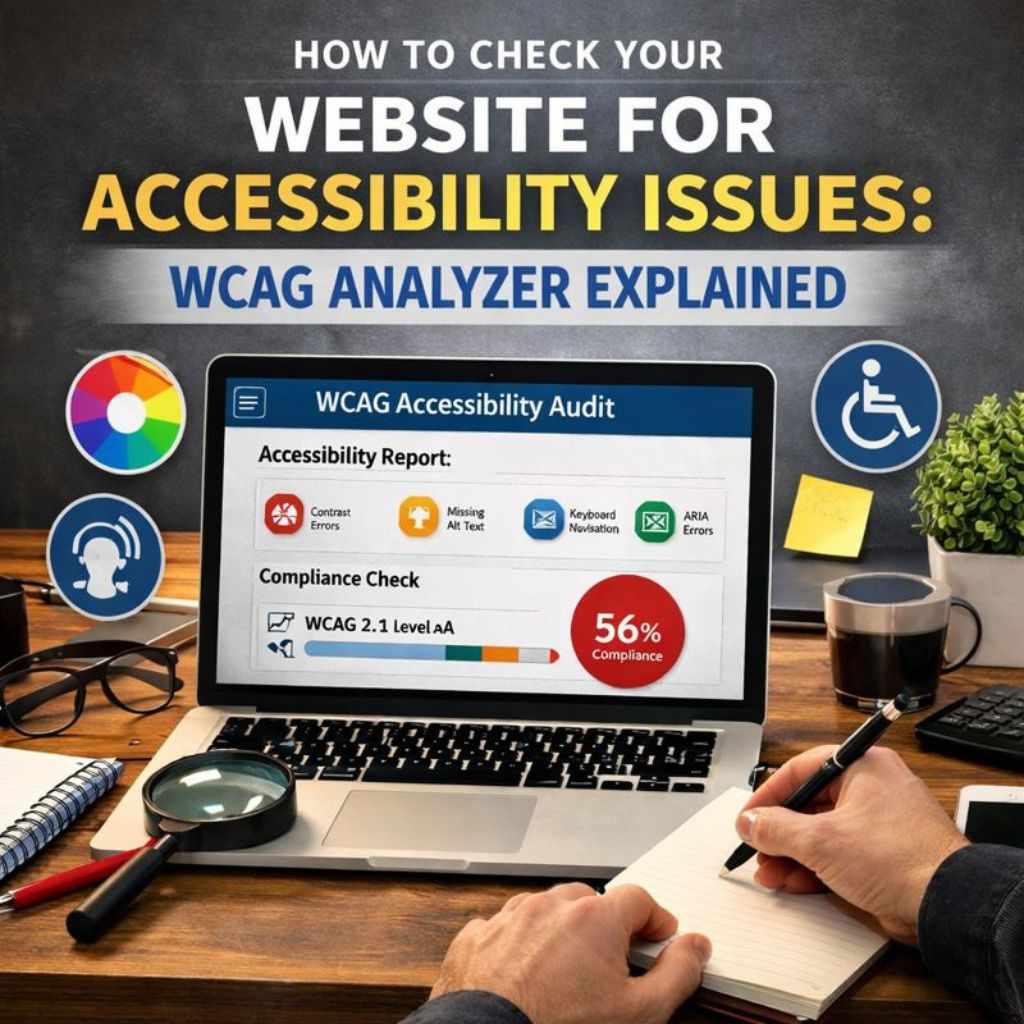
The Accessibility Analyzer offer deep dives into the details cases of an issue that you have. According to WCAG 2.2 guidelines which are standard universal, you will get from them very clear and doable suggestions. Besides, the instrument supports you in resolving the difficulties by giving you the option of viewing the issues on the Developer toolbar from where you can understand and solve the problems without having to work across different screens.
Step 4: Download Your Audit Report
To make the process handy, the tool allows you to save the entire audit report in an Excel (.xls) format. This option is especially great for the workforce, as it gives a developers and content creators freedom to track the issues, write down their observations, and decide on the activities of solving them in a most efficient way.
Step 5: Combine Automated and Manual Checks
The Accessibility Analyzer alone is not a comprehensive solution, and thus, coupling it with manual testing will ensure no accessibility problems go unnoticed. Use keyboard navigation, screen readers, and other assistive technologies to check your site and make sure users from all categories can easily interact with your content.
Step 6: Take Action
Slowly but surely, turn to the analyzer one by one to solve the problems it identifies. Starting from fixing the errors with the most significant impact on users and then refining small issues gradually, your website will become more inclusive, and as a result, the user experience, the level of user engagement, and compliance with the accessibility standards will improve.
Conclusion
The Website Accessibility Analyzer does not merely scan your web content, but it helps you create an accessible web. You can take your first step by installing the extension, running a scan, and then making the necessary changes so that your website becomes accessible to every user.
Download the Accessibility Analyzer chrome extension now and ensure that your website is accessible to all users while you comply with WCAG 2.2 standards.


Write a comment ...